
If you’ve ever sat at your sewing machine, stared at all those little squiggly lines on the dial, and thought, “What on earth does that one do?”—trust me, I’ve been there.
When I first started sewing, I used the straight stitch for everything. Everything. Jeans? Straight stitch. Stretchy t-shirt? Straight stitch (which immediately popped). It was a disaster. I ruined a lot of fabric learning that not all stitches are created equal.
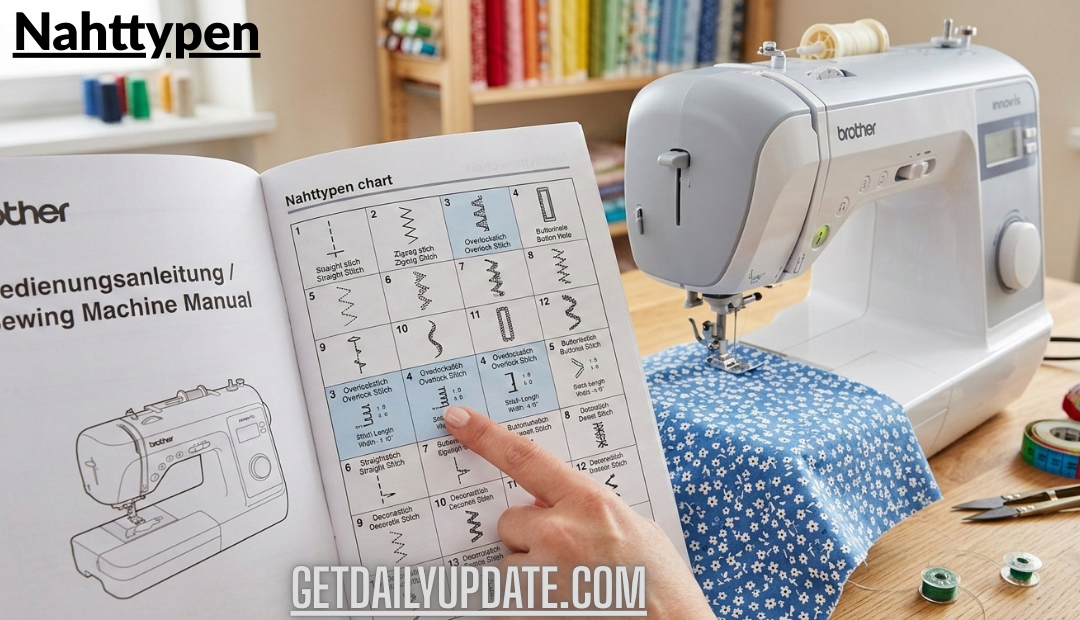
That’s where understanding Nahttypen (that’s just a fancy German word for “stitch types”) comes in. It sounds technical, but it’s really just about matching the right tool to the right job. By the end of this post, you’ll know exactly which button to push to get that perfect, durable seam without the frustration.
What Are Nahttypen and Why Should You Care?
Simply put, Nahttypen are the different stitch patterns your sewing machine can make. Your machine isn’t just a one-trick pony; it’s a Swiss Army knife. Each stitch is designed to solve a specific problem.
-
Does the fabric stretch? You need a stitch that stretches with it.
-
Does the fabric fray? You need a stitch that traps the raw edges.
-
Do you want it to look pretty? There’s a stitch for that, too.
Ignoring which stitch you’re using is like trying to cut a steak with a spoon. You might eventually get there, but it’s going to be messy. Let’s break down the big four you’ll use most often.
The 4 Essential Nahttypen You’ll Use 90% of the Time
You don’t need to memorize the manual. You just need to master these four workhorses. I keep my machine set to one of these about 95% of the time.
The Straight Stitch: The Foundation of Sewing
This is the bread and butter of sewing. It’s a simple, single line of thread. It’s strong, clean, and perfect for when you need things to stay put.
-
Best for: Woven fabrics (like cotton quilting fabric, linen, or poplin), topstitching, and darts.
-
When to avoid it: Anything with stretch. If you use a straight stitch on a knit fabric (like jersey), the thread will snap the first time you stretch the garment to put it on. I learned this the hard way making a t-shirt for my son—it looked like a crop top after one wear!
The Zigzag Stitch: The Multi-Tool
If the straight stitch is the hammer, the zigzag is the Swiss Army knife. It moves side to side, which gives it flexibility.
-
Finishing Edges: One of my favorite tricks is using a wide zigzag right along the raw edge of a woven fabric. It stops the fraying so you don’t need a serger.
-
Sewing Stretch Fabrics: Because the stitch can stretch, it moves with knits. A narrow, short zigzag is often all you need to sew a t-shirt seam.
-
Applying Elastic: It’s the go-to stitch for attaching elastic in underwear or waistbands.
The Stretch Stitch (or Lightning Bolt)
You might see this on your machine dial. It looks like a thin lightning bolt or a very tight zigzag. This is actually three stitches forward, one stitch back.
-
Best for: High-stretch areas. Think necklines on t-shirts or seams on athletic wear.
-
Why I use it: It creates a seam that can stretch significantly without breaking the thread. It also holds knit layers together really well without tunneling (where the fabric bunches up between stitches).
The Overlock Stitch
Don’t confuse this with a serger. A serger cuts and finishes the seam in one go. But your regular machine might have a stitch that looks like an overlock stitch. It usually sews a straight line with a zigzag off the edge.
-
Best for: Seam and finish in one step on stretchy or woven fabrics.
-
Pro Tip: If you have this stitch, trim your seam allowance down slightly after sewing to mimic the look of a serged edge. It looks super professional.
How to Match Nahttypen to Your Fabric (The Simple Test)
So, how do you know which one to pick when you’re staring at a beautiful piece of fabric? I follow a simple rule: Fabric First, Stitch Second.
Here’s my 3-step process that I use every single time I start a new project:
-
The Stretch Test: Grab a corner of your fabric and pull it.
-
If it doesn’t stretch at all (like quilting cotton) → Grab the Straight Stitch.
-
If it stretches a little (like a sweater knit) → Grab the Zigzag or Stretch Stitch.
-
If it stretches a lot (like spandex) → Grab the Stretch Stitch.
-
-
The Fray Test: Run your fingernail along the cut edge.
-
If threads fall off immediately (like cheap taffeta) → You need to finish that edge. Use a Zigzag or Overlock Stitch.
-
If it curls but doesn’t fray (like jersey) → You don’t need to finish the edge, but you do need a stitch that stretches.
-
-
The Scrap Test (Most Important!):
Never skip this. Grab a scrap of your actual project fabric, fold it, and sew a test line with the stitch you chose. Then, pull on the seam. Does it pucker? Does the thread break? If it looks good, you’re ready to go!
A Personal Note on Tension
I have to mention tension because it can ruin even the perfect Nahttypen. I remember working on a silk blouse—fancy, right?—and my stitches were looping and tangling on the bottom. I thought my machine was broken. I almost threw it out the window.
Turns out, the tension was just too loose. Usually, if you switch between a thick denim and a thin silk, you need to adjust that dial. For most standard Nahttypen on medium fabric, a tension setting of 4 is a safe bet. But always, always test on a scrap. It saves the tears.
Conclusion: Stitch with Confidence
Look, sewing is supposed to be fun, not frustrating. Once you stop guessing and start understanding Nahttypen, a whole new world opens up. You’ll stop avoiding knits, you’ll stop fearing fraying, and your seams will actually hold up in the wash.
The next time you sit down at your machine, remember the stretch test and the fray test. Pick your stitch accordingly, and do a quick test on a scrap. That’s it. You’ve got this.
If you want to read more information, visit.


Leave a Reply